From our house, we see sunrises in the southeast. They can be so different. You don’t know how many pictures I have taken, running out to the deck to capture a picture of the sunset, mountains in the distance, and our trees in the foreground. I don’t know how many times, but currently on my phone I have maybe 20K photos I have taken over the last 13 years. I keep what might be called a photo journal of my processes, the things I make, and visual frames imagined as I walk down the road that drive me to grab my iPhone and capture bits of the beautiful surroundings here on the mountain.
Sunrise.
The most intense sunrise has shockingly bright oranges and reds, whereas, when sunrise is more progressed, the colors become muted. The clouds add such a different element in the image as well as the selection of trees, particularly in the fall and winter when the intricate patterns of branches can be seen.

Photo 1. Sunrise with trees in Leicester, NC
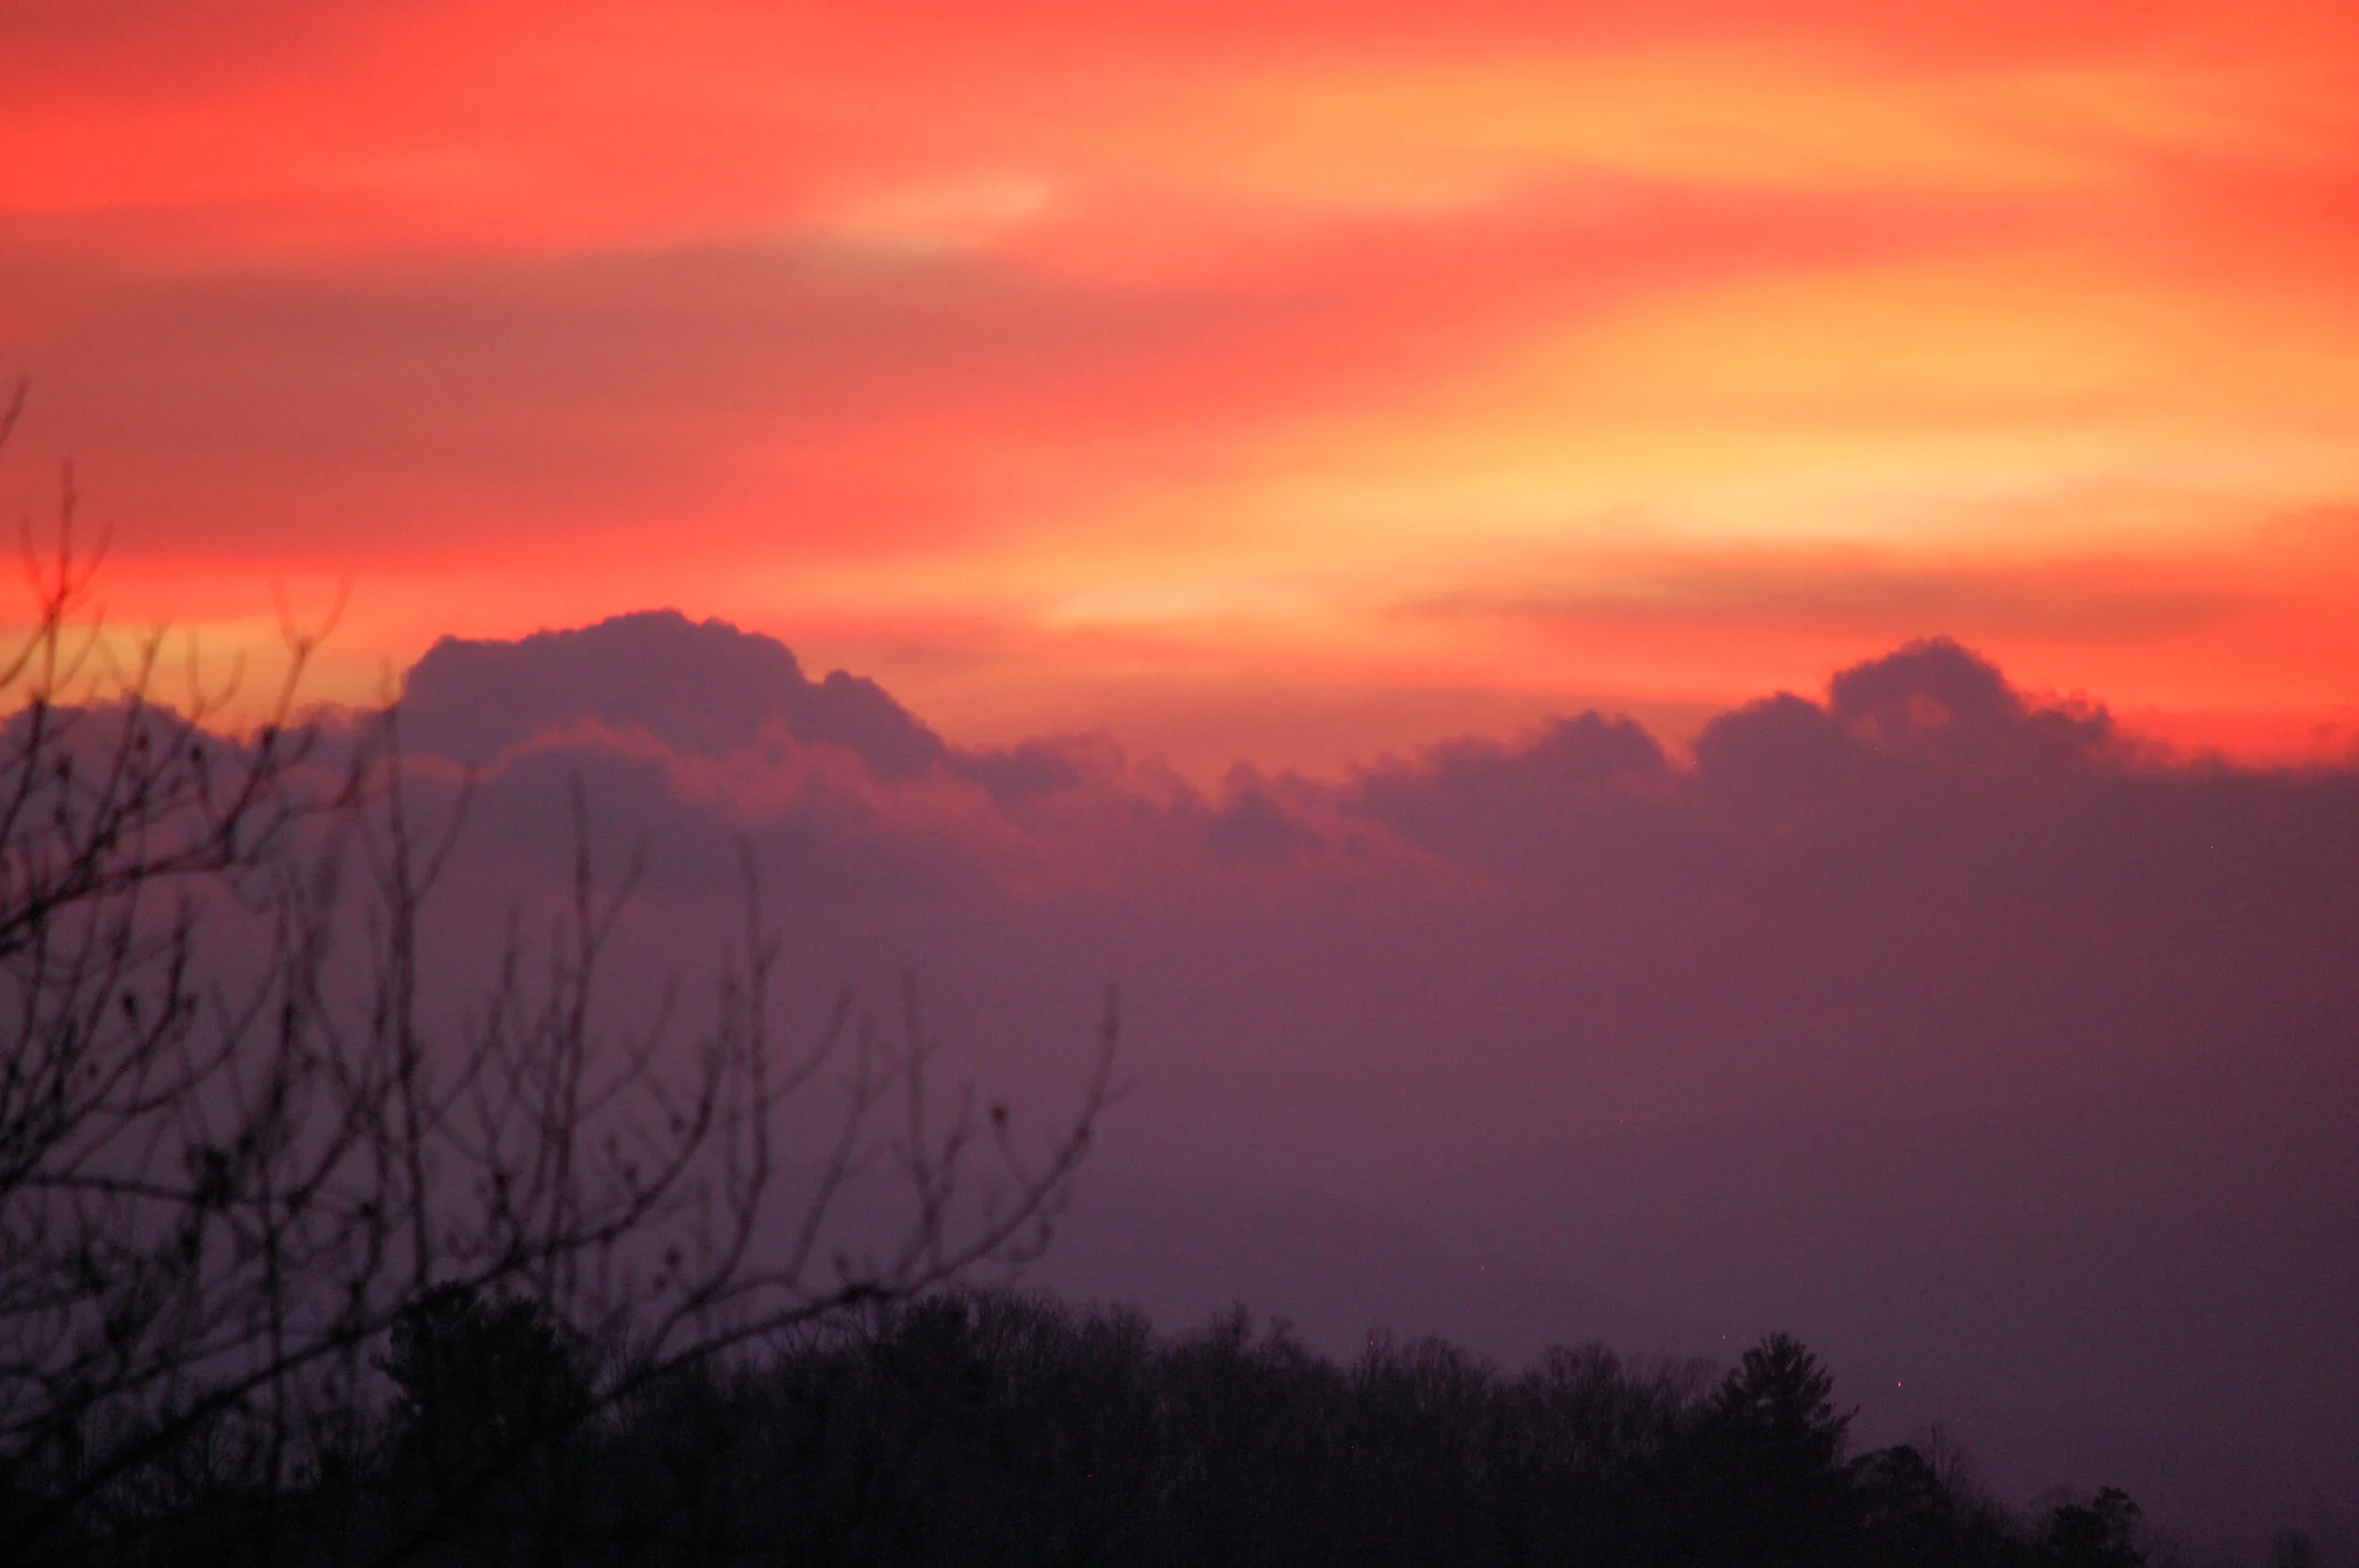
Photo 2. Sunrise with clouds in Leicester, NC

Photo 3. Sunrise with trees, mountain profile, and a beautiful blue sky.

Photo 4. Sunrise with muted colors, streaks of clouds, trees, and mountain profile in the distance.

Photo 5. Late sunrise with muted blue ridge mountains and a pink and pale blue sky.
Exciting reds and oranges or muted, soft, peaceful colors. Right? You see it I am sure. I myself can’t resist capturing images of intense colors, but the photos I prefer to look at and perhaps see on the wall are the muted ones. Since I make calendars using my photos, I see each image a month at a time and have plenty of time to enjoy. This year I saw everything again as I failed to make a new calendar. More on calendars at another time.
My next piece, I decided therefore, was to create something based on sunrises, but one that I could enjoy making and that made me feel at peace. I also wanted to make something that could be used daily and enjoyed, if not by me then by others.
1 dozen linen napkins and 1 dozen quilted placemats to match.
Cutting the fabric, dyeing the fabric, stitching and fraying the napkins, silkscreening, putting together the placemats with batting in place, and more before finally quilting. FUN! Something really to look forward to in the mornings.
We have been talking about ice dyeing in our virtual handwork circle at Local Cloth and several in our group are experienced with this technique. I love it and have done pieces before for quilts and wall hangings such as the piece in the next photo which hangs in my studio. My mentor Karen Bell, a fiber artist in Canton, NC and a fellow banjo player and I enjoyed an afternoon of wax resist, otherwise known as batik. My starting material was a large piece of ice dyed fabric.

Photo 6. Batik wax resist on ice dyed muslin followed by navy over dyeing. Purple basis, natural dyed wool was used to crochet the edges and suspend the batik from a hardy hibiscus stem collected from my garden.
So jumping in with both feet, I cut yards of heavy linen and yards of cotton sheeting and proceeded to ice dye them in similar colors, I hoped. The colors on the linen napkins would be similar but not exactly the same as those on the cotton sheeting destined for the placemats. To make things more interesting, I decided to shibori fold the material prior to ice dyeing.

Photo 7. Top view of ice dyeing at the beginning of the process.

Photo 8. Side view of ice dyeing at the beginning of the process.
Brace yourself. I am happy for me (out of time) yet sorry to say for you (what happens next), this blog will be continued next week!……………………
It is all about the surprise, first seeing unfolded wet and then after washing and drying. You will see that and more. Silkscreening and whatever else I dream up.
Susette