Post hurricane Helene recovery in Asheville has been a struggle for most artists in the River Arts District. Local Cloth members have poured their energies into bringing the Local Cloth studio back from the 11 foot mud onslaught. Check out localclothinc Instagram posts for progress! Local Cloth with its retail studio, dye studio, classroom, resident artists spaces, workshops and expanded retail opportunities for local fiber artists is supported by staff and many volunteers. Local Cloth will have improved resources for serving artists and fiber farmers in the Blue Ridge Fiber Shed (100 mile radius from Asheville).
I am a member of Local Cloth and I lead the Handwork Circle interest group. During covid, we started on zoom and are still going strong with both in person and zoom meetings weekly with the help of several members.
As a group we began collaborative projects in 2023. We pass a project from person to person. Each person adds their artistic stamp in the form of embroidery, patchwork, Temari balls, felted critters; each individual has artistic say on what to add based on how the piece speaks to them. Check out these Local Cloth blogs on the first and second projects.
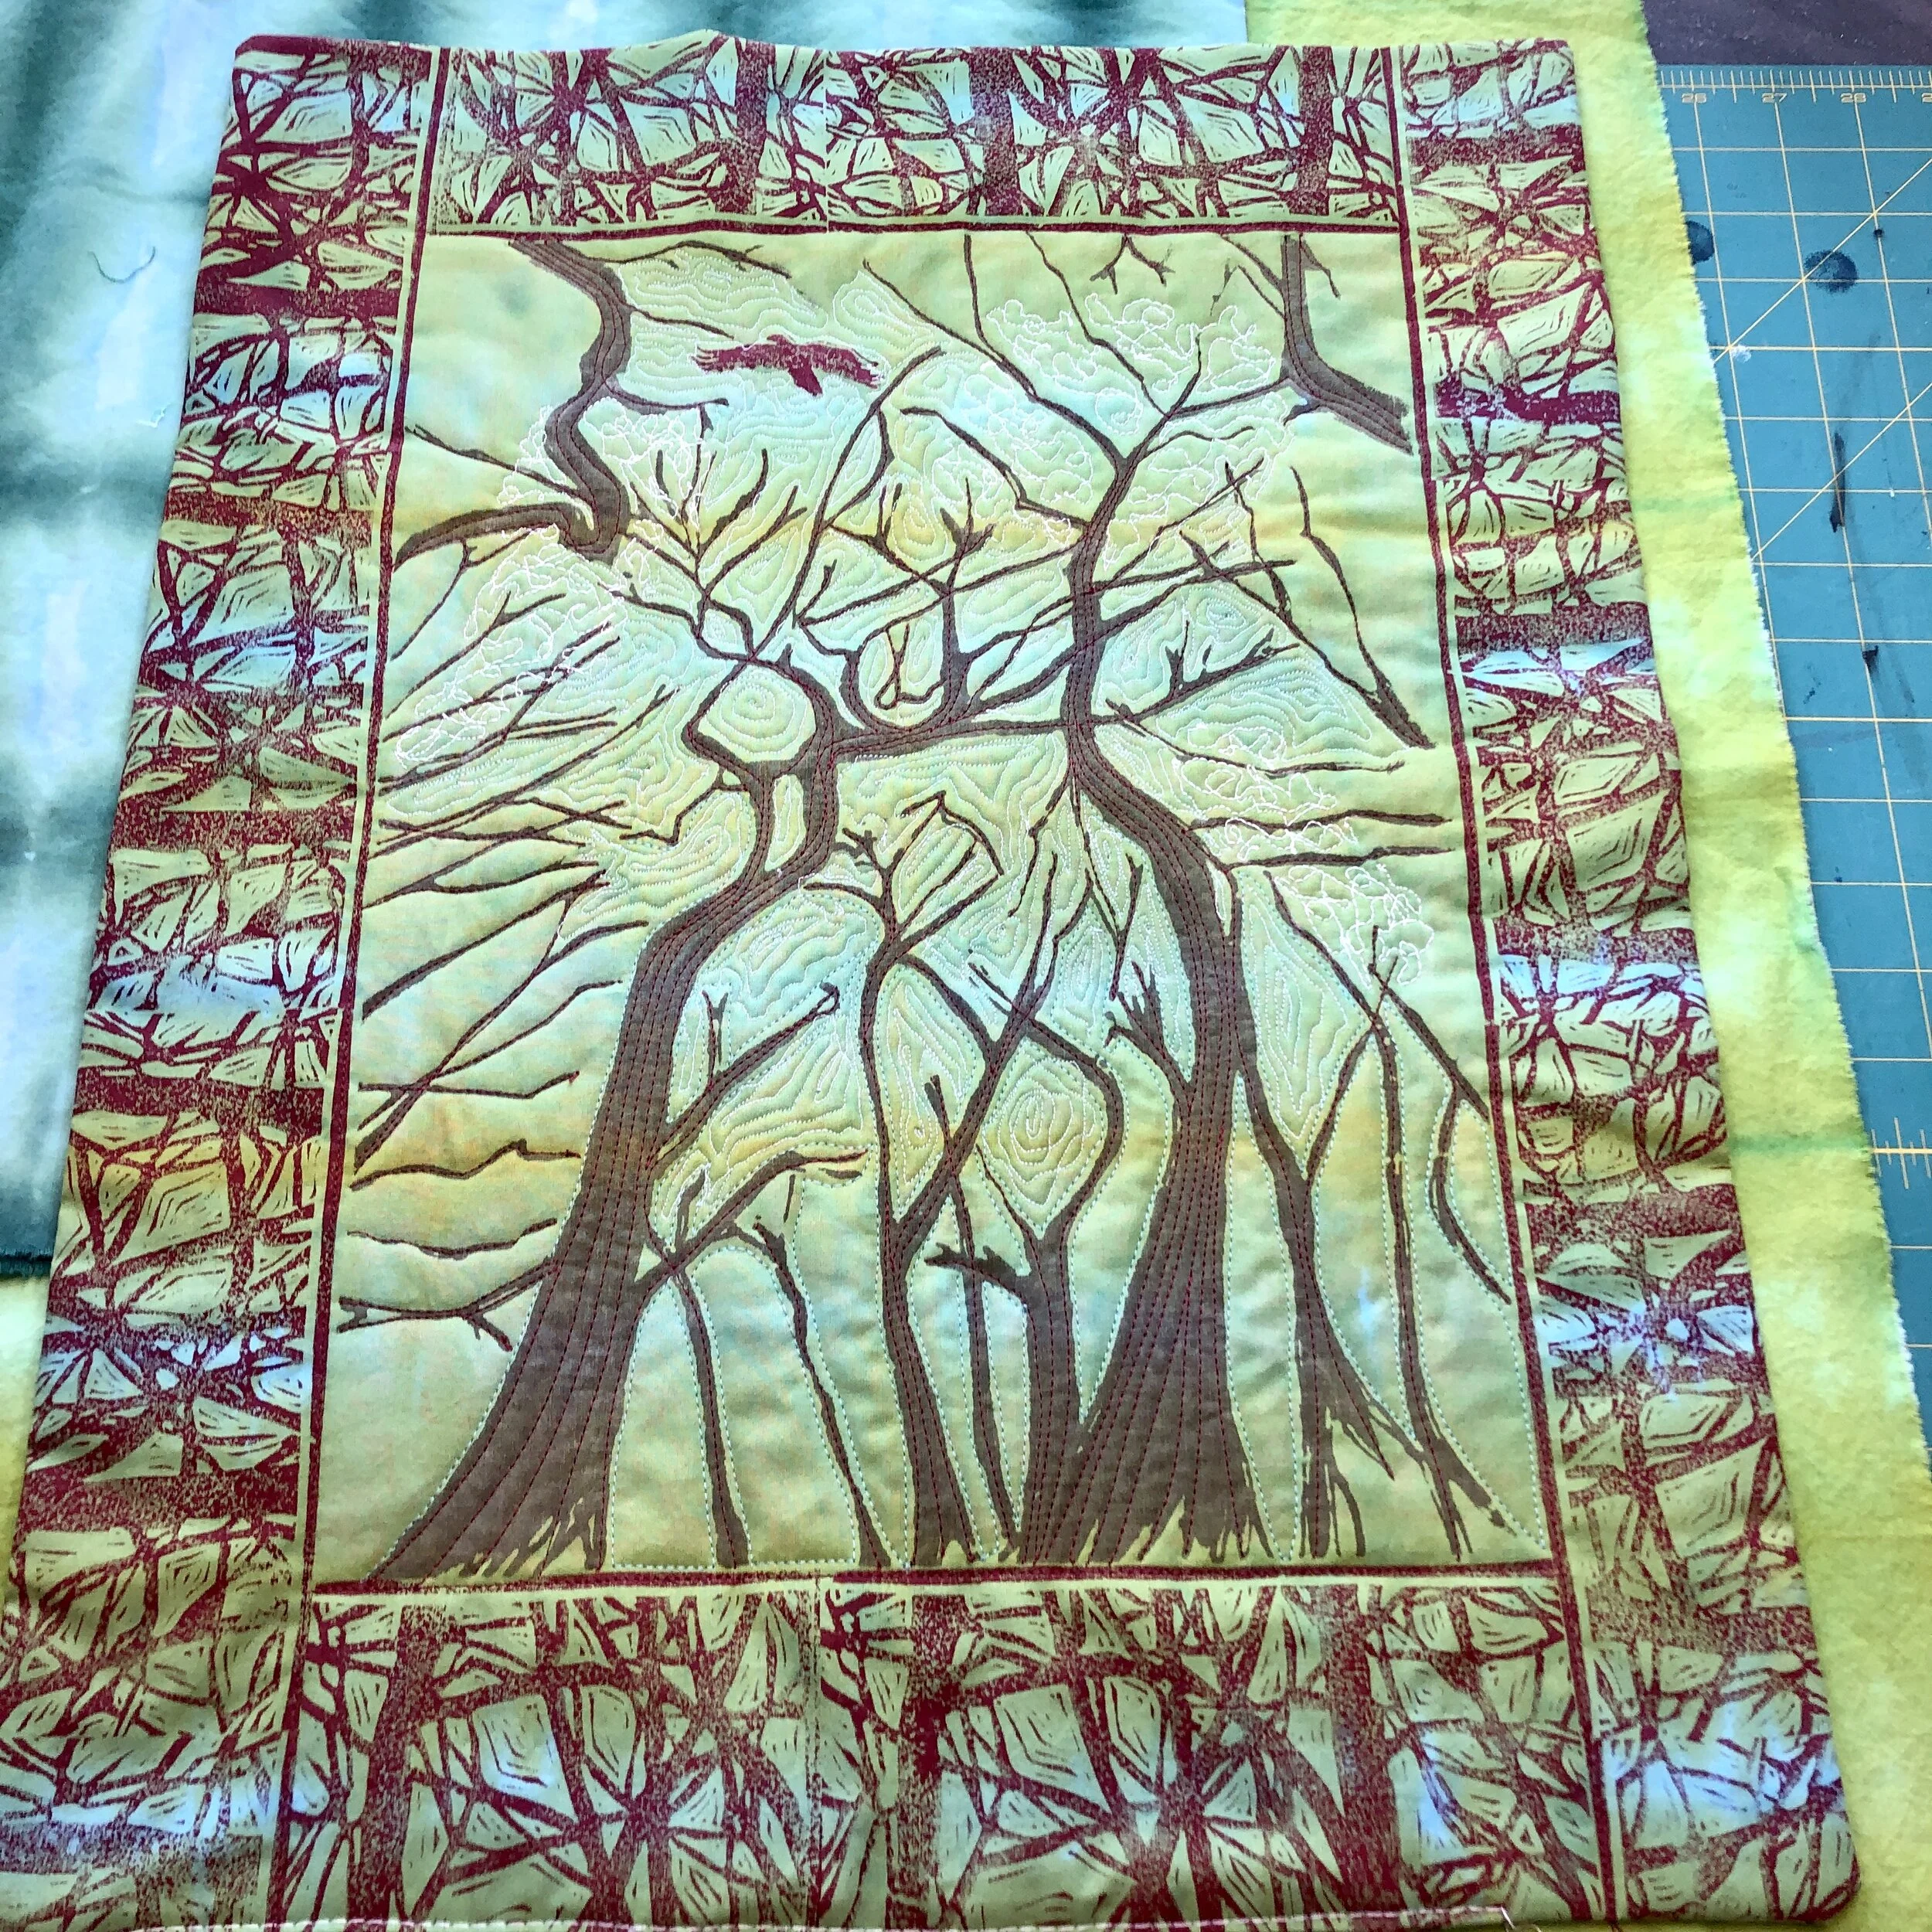
Then, Helene happened. Alas, we only recovered the first piece. After soaking and rinsing and soaking and rinsing we brought it back to a somewhat similar state! (See the photo).
We have started a new collaborative project for handwork circle participants!
Kathleen Lewis said she would start the piece. The “rules” are as previous, that is, the project is passed from person artist to person artist. During their turn, the artist has complete freedom to add to the piece based on their vision.
The theme we decided on will be the recovery of Local Cloth, the rising from the ashes so to speak. New inspiration and hard work is driving Local Cloth to reopen and wow everyone. We have big expectations.
Let me know if you want to participate and whether you know anyone else I may have missed that might want to be included.
Cheers!
Susette
Signed up so far, Jul 28th, 2025:
1 Kathleen Lewis (currently with her)
2 Mary Kelley
3 Martha Brandon
4 Katya Hoke
5 Tina Hvitfeldt
6 Ceil Jensen
7 Judi Jetson
8 Linda Hayward
9 Rebecca Norris
10 Susette Shiver